Transforming Empty Pokemon Tins

Share this post or save for later...

Julie With Pokemon and Cookie Tins

As the mother of a Pokemon card collector, my home seems overrun with these empty Pokemon tins. So, I’m transforming empty Pokemon tins with IOD Molds and DIY Paint into gift boxes. These gift boxes are the perfect size to hold a small batch of holiday treats or a gift of hand stamped note cards. I offer up for your consideration one winter tin made with the IOD Blitz mould and one year round tin made with the IOD Birdsong mould. 

These tins really are handy for storage. We have one for markers, one for pens, one for crayons, and one for marbles. We’ve put them to work out in the garage to organize screws and small tools. The original owner of the tins has put to use as many of them as he possibly can so now it’s my turn. Yay!

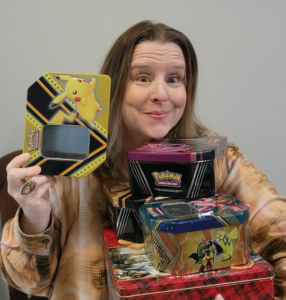
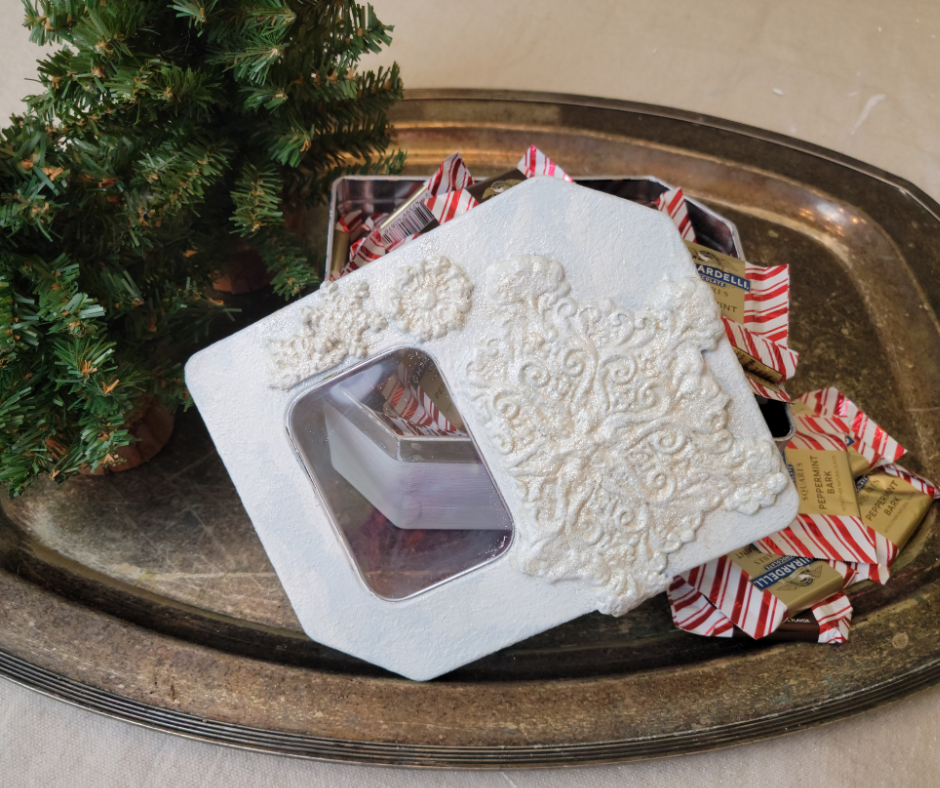
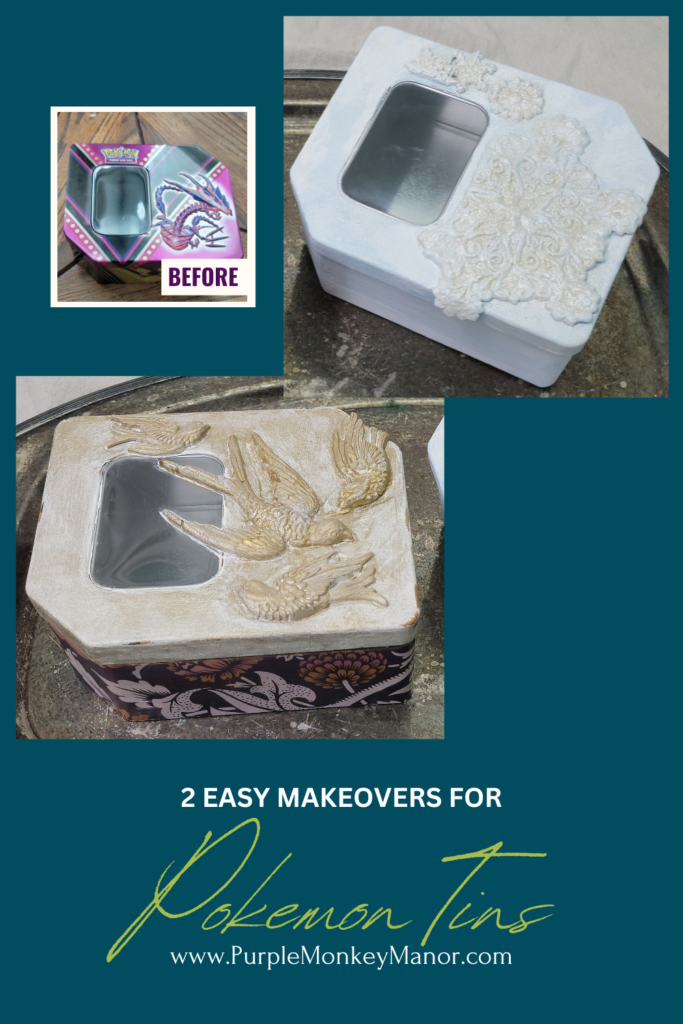
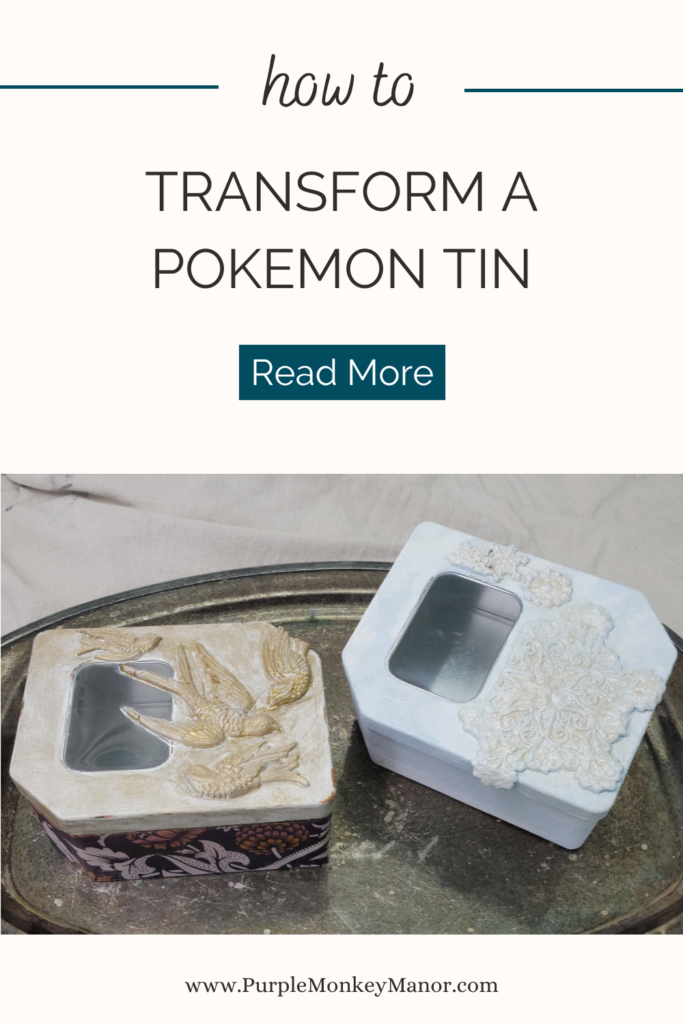
Here's a link to a quick video about creating the snowflake tin:

https://www.youtube.com/watch?v=eq0DhjaugT0&t=5s

Transforming Pokemon Tins Birdsong Tin

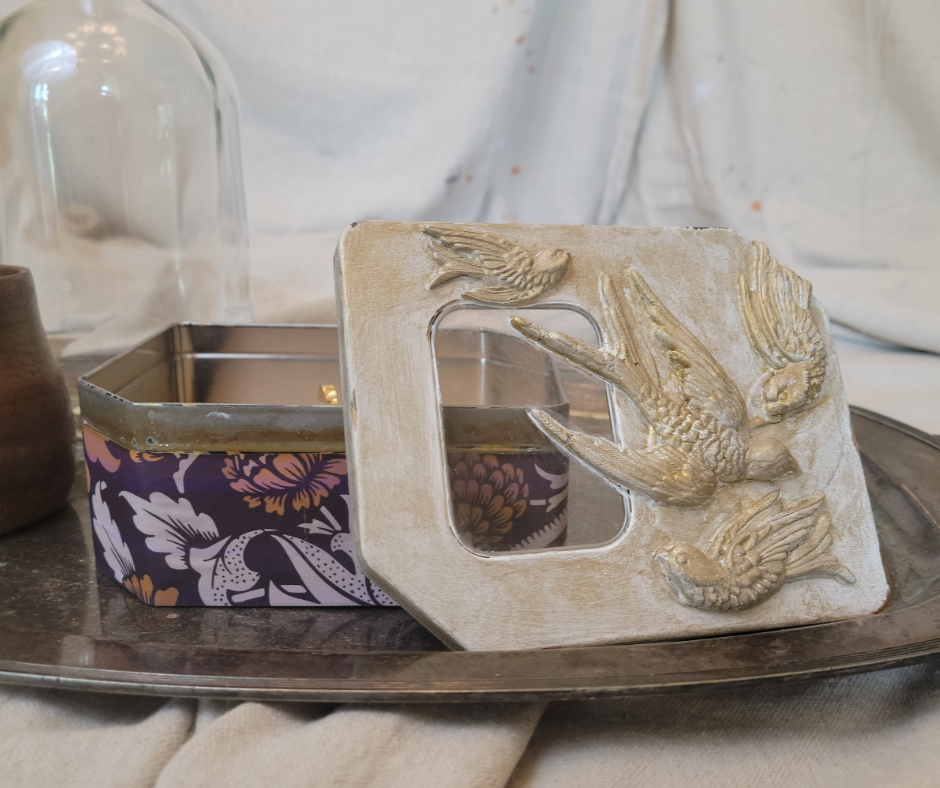
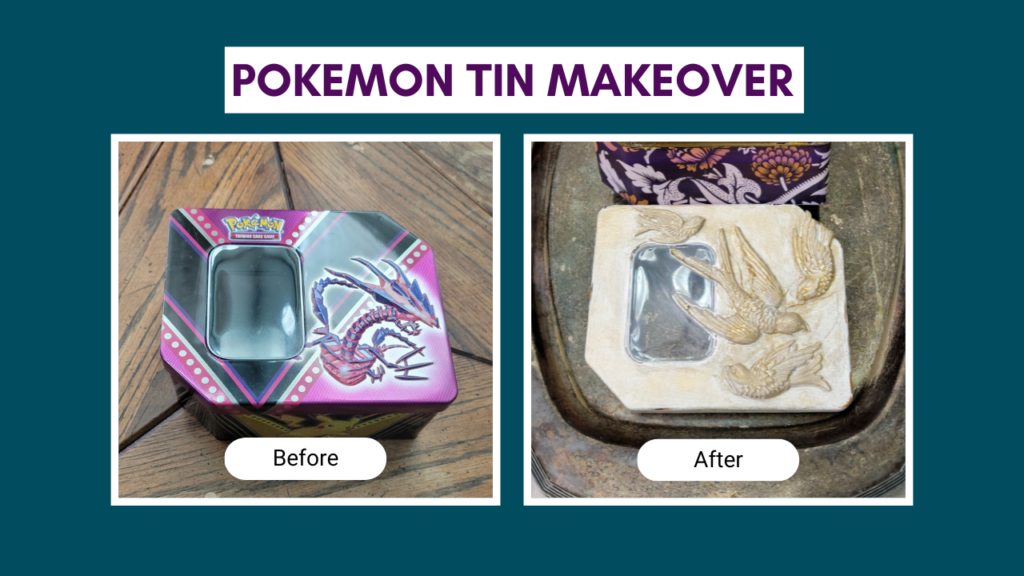
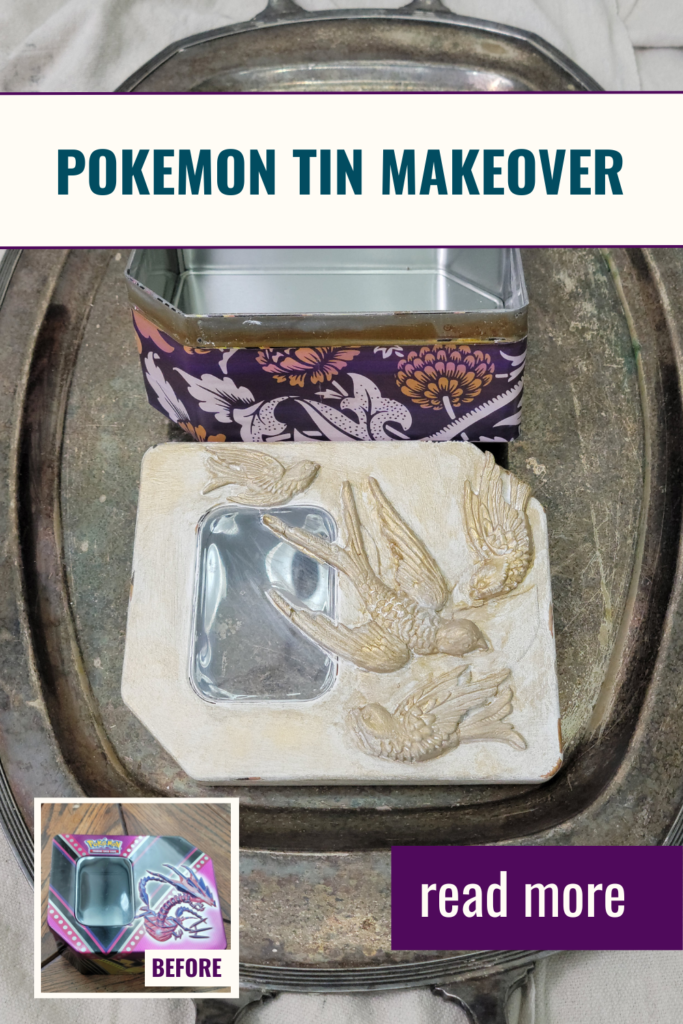
Here's a link to a quick video about creating the bird tin:

https://youtube.com/shorts/IcNq8rlDnUY

Transforming Empty Pokemon Tins Tutorial:

Steps one through five were the same for both tins. 

1 The first step was to figure out if these tins were valuable. I didn’t want to hear later that I’d painted over a $1000 collector’s item. I consulted the Indoor Game Bunker website and found out that I was safe to start crafting.

2 The Pokemon tins have a raised character and raised lettering on the lid. I knew I’d need to pull out my IOD Moulds to create a three dimensional addition to the lid to mask them. I believe any of the moulds would work.  Here’s a tool for planning your project – IOD mould sizes.

3 Dust your mould with a release powder. I usually use corn starch, but this time I couldn’t find it and used baking powder. It worked just fine.

4 Press your air-dry clay into your mould. I use IOD air-dry clay. It’s so soft and easy to use. Then remove it from the mould and glue it to your Pokemon tin to cover or obscure your character and words. I used Aleens All Purpose Tacky Glue.

5 After your clay has dried, paint the entire tin, including your glued down castings with White Swan DIY Paint. Most of the time, it is important to paint even the decoupaged part of the Pokemon tin because the colors beneath the paper are so vibrant they’ll show through. Also, you need the white behind the paper to make your design pop. Made by Marley decoupage paper is much thicker than most tissue type decoupage papers and doesn’t require the pre-paint.

Snowflake Tin With Blitz Mould Instructions:

6 Use the Prom Queen DIY Paint to blend with the White Swan to create an icy blue mix. Let your blue and your white stay solid in some places and blend in others to create depth and interest.

7 Grab a pinch of the Silver Linings Making Powder and sprinkle it onto your snowflakes.

8 Seal the entire piece with Crystal Clear Chandelier Liquid Patina. If you’re feeling a bit extra (which I was) sprinkle some more of the making powder into the wet patina.

Here’s a link to the YouTube video about creating the snowflake tin: https://youtu.be/eq0DhjaugT0

Bird Tin With Birdsong Mould Instructions:

6 Cut two strips of your decoupage paper the width of the base of your tin.

7 Apply decoupage medium. You can use the Crystal Clear Chandelier, but I’ve found that with Made by Marley’s thicker decoupage paper, I like the thicker consistency of Mod Podge.

8 Apply your decoupage paper strips around the base of the tin and then cover the outside of the paper with more decoupage medium.

9 Seal the top of the tin with the Golden Ticket Liquid Patina. I kept a bit of water near by to help me keep the gold even. I then blotted it with a damp wash cloth to mask any brush strokes.

Have a friend who you think should see this? Please, share this post...

Pokemon Tin Makeover Pinterest Pin with Birdbox
2 Easy Makeovers For Pokemon Tins Pinterest Pin
how to transform a pokemon tin blog post pin