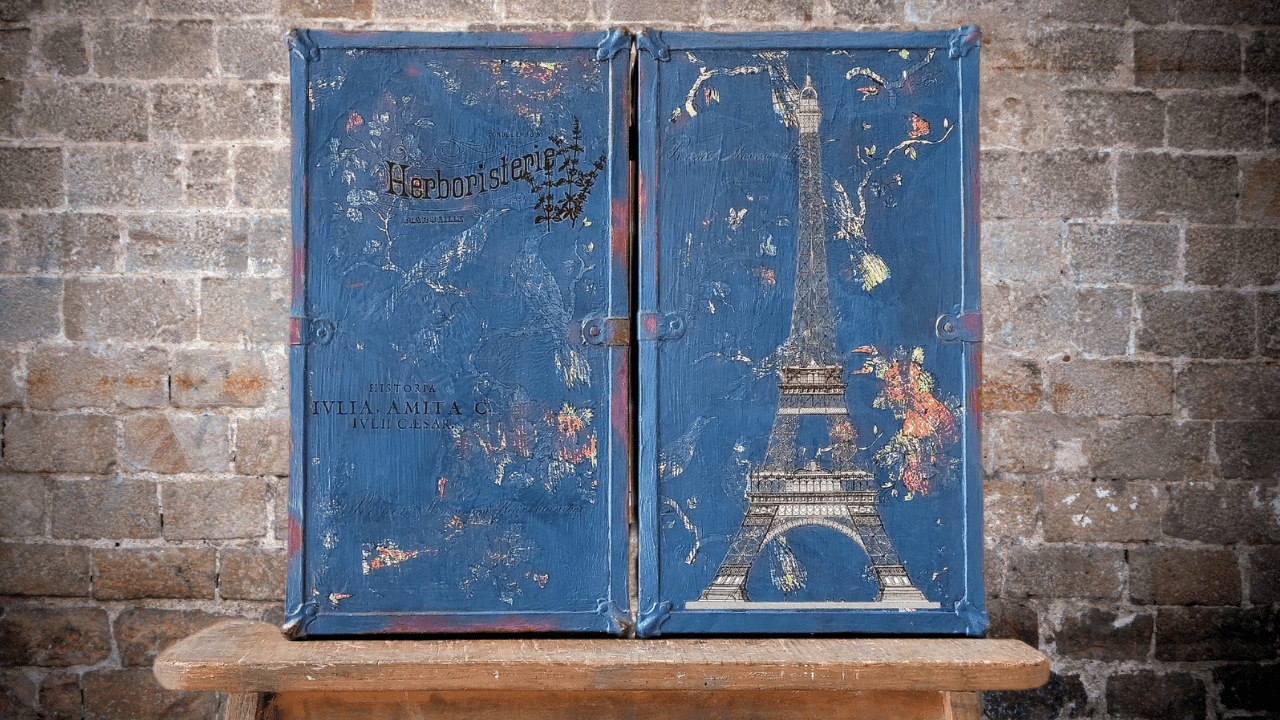
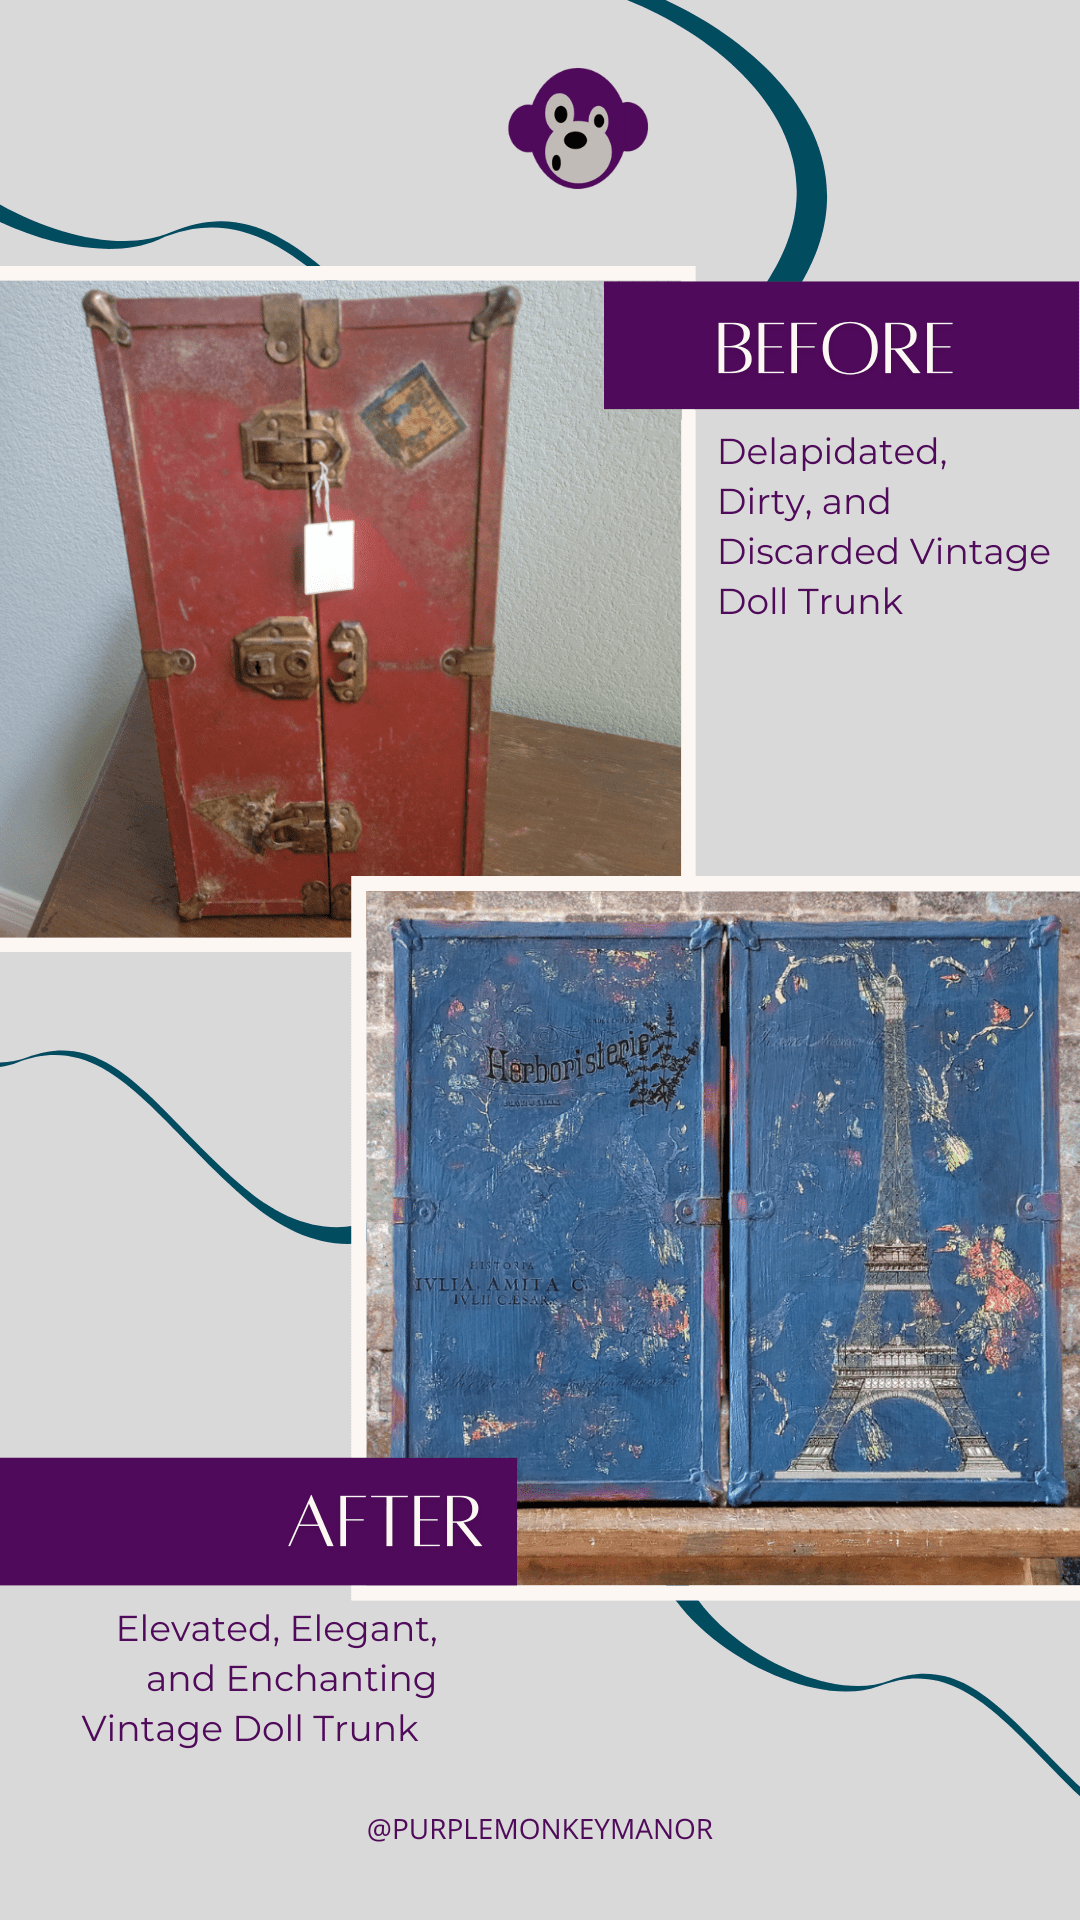
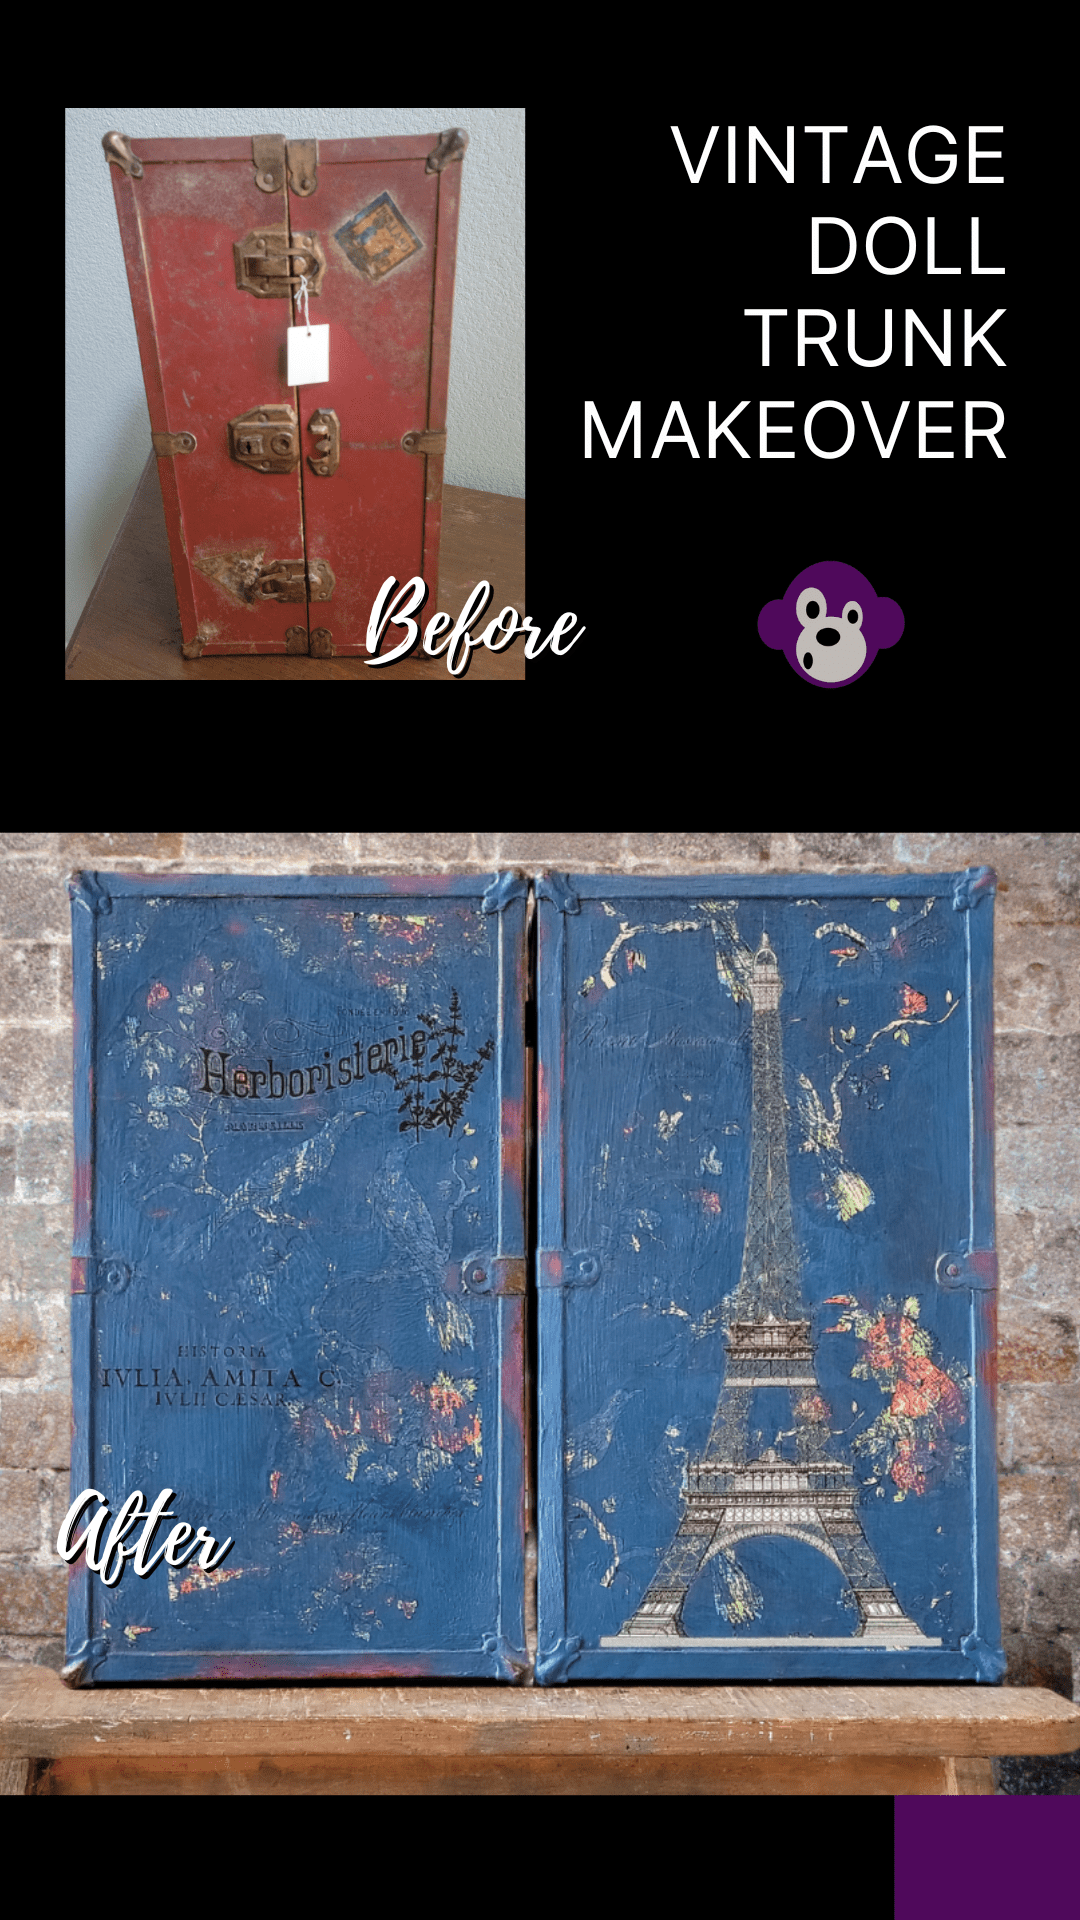
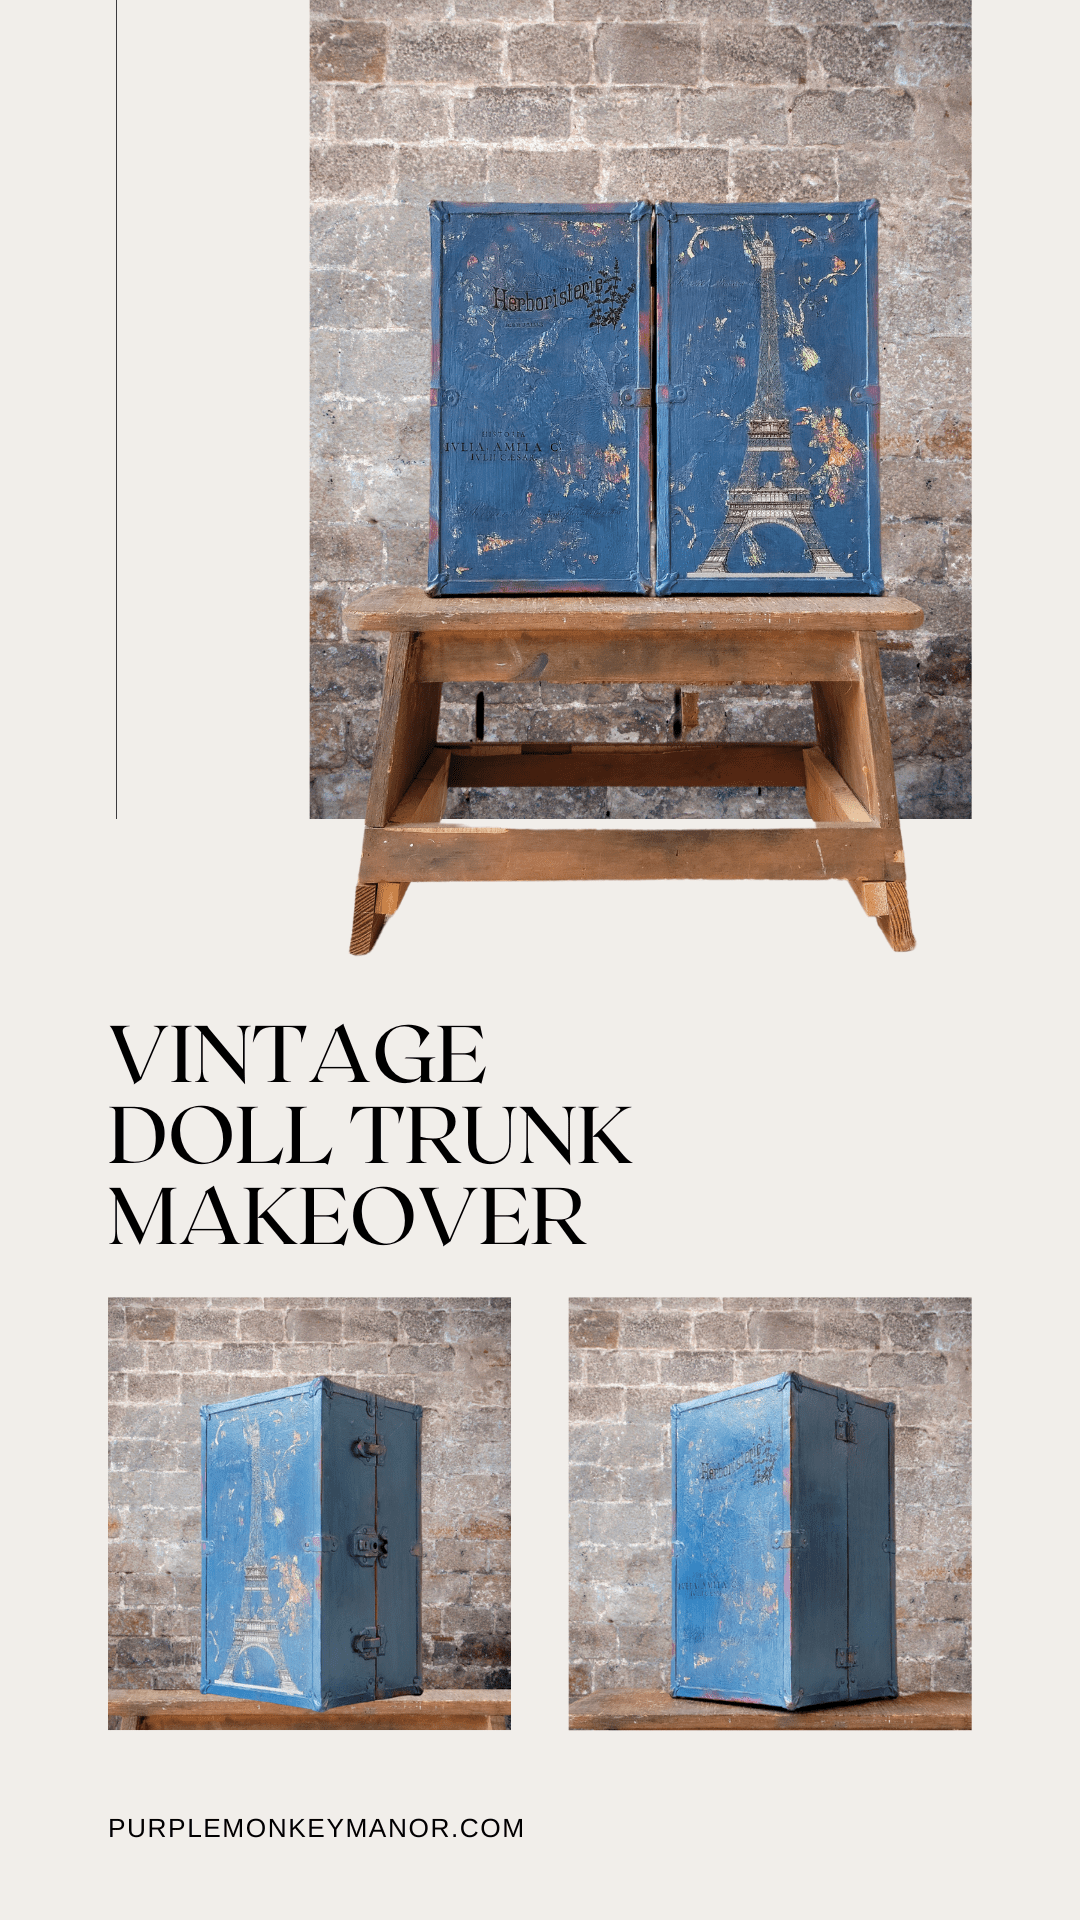
I decided this $5 thrift store find needed a vintage doll trunk makeover. It is real wood and metal. I call it a Barbie trunk in the YouTube video, but I don’t think it’s actually Barbie brand. It’s lovely though. I would have felt so fancy carrying my dolls around in it. So elegant. It’s so sturdy and now it’s beautiful too.
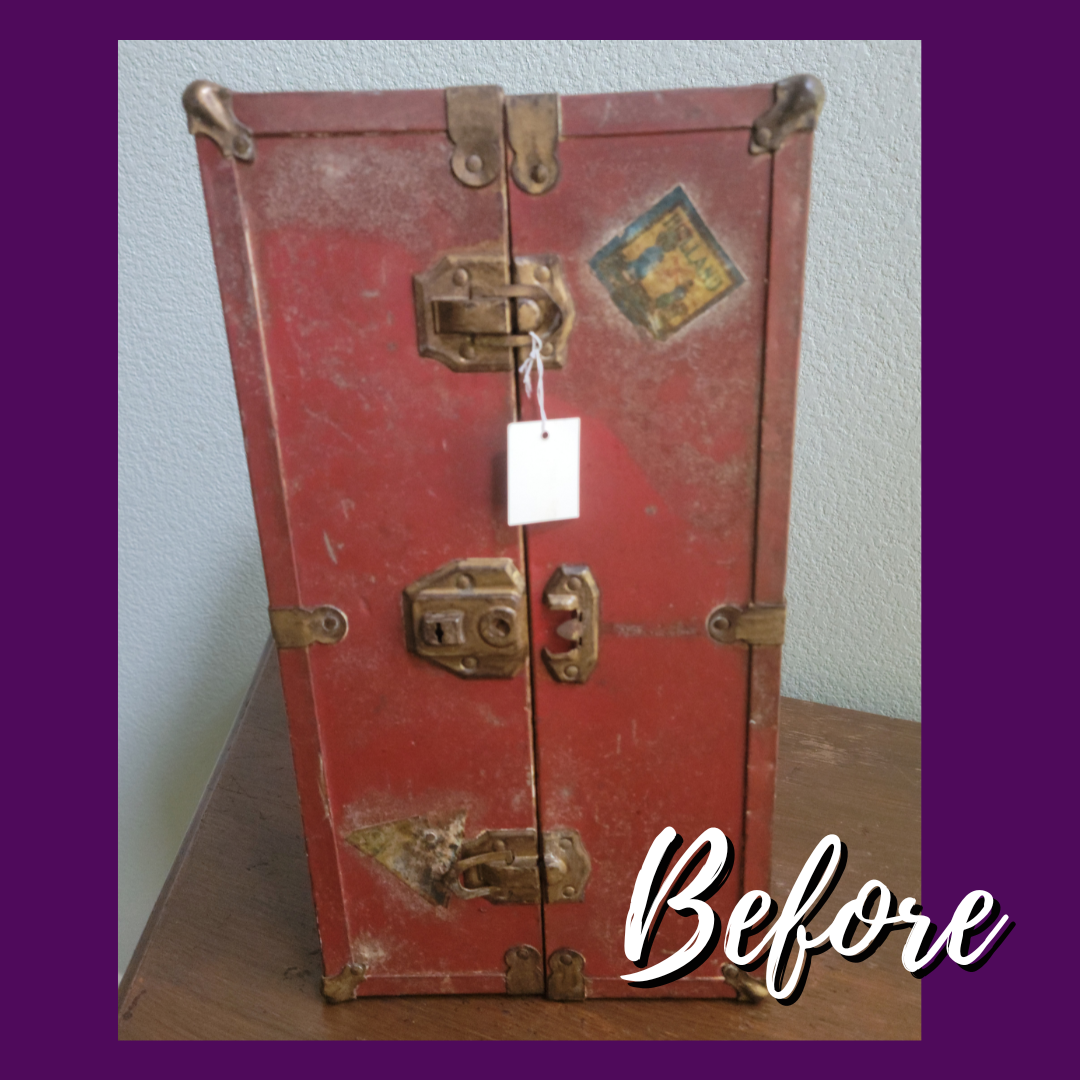
This thrift store find was only $5 and by using bits and pieces of IOD products, the supplies costs were minimal too. I’d guess I’ve got $15 in this vintage doll trunk makeover total. How much do you think I can sell it for?
Supplies:
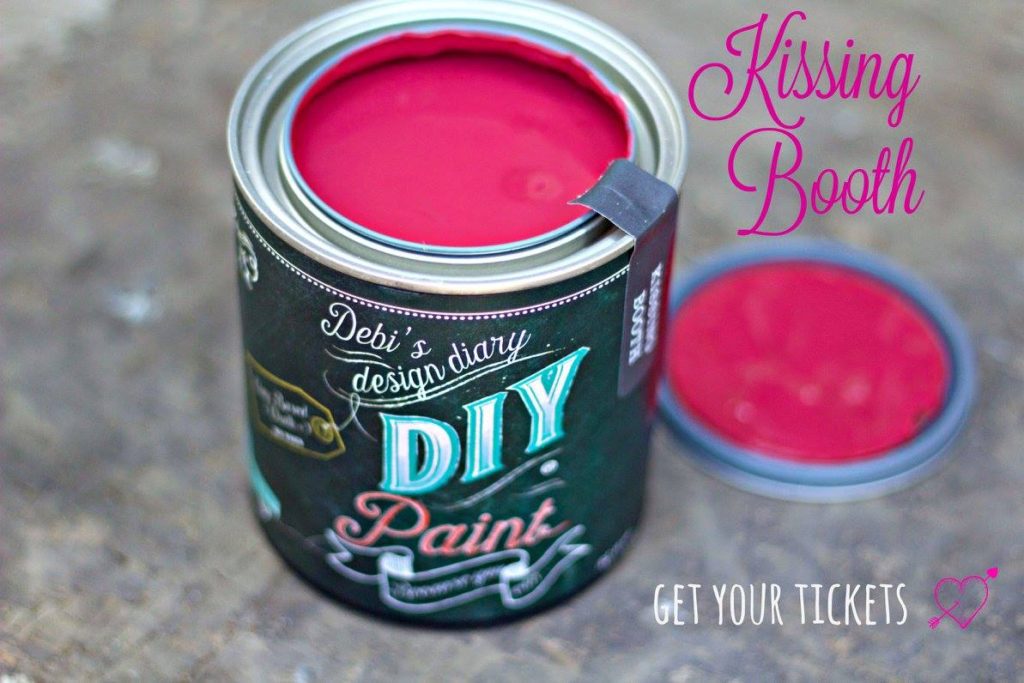
Kissing Booth DIY Paint
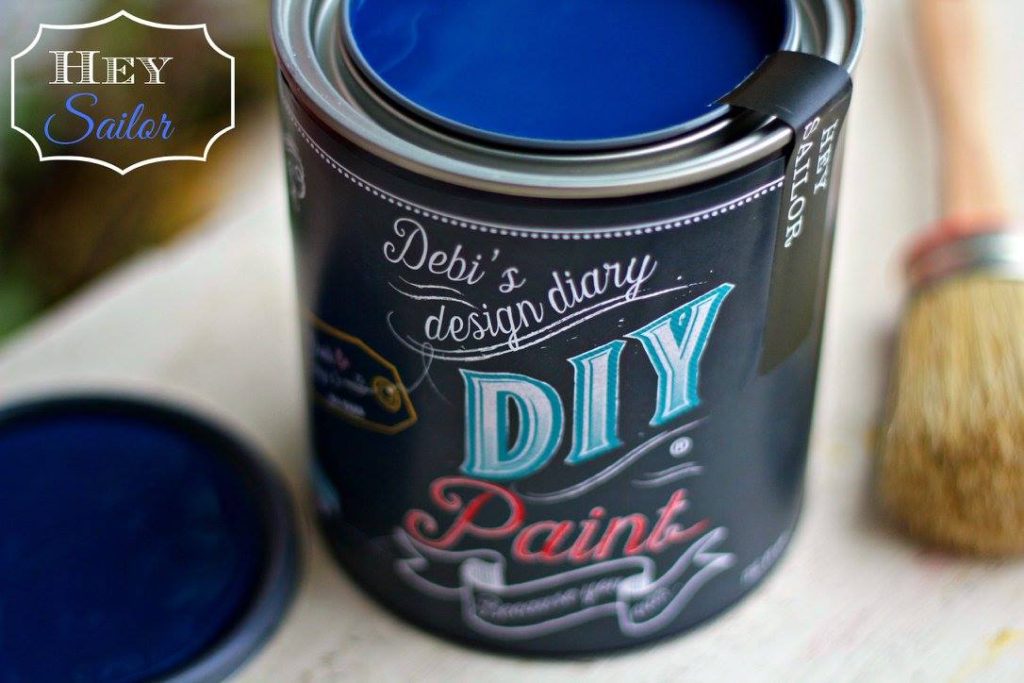
Hey Sailor DIY Paint
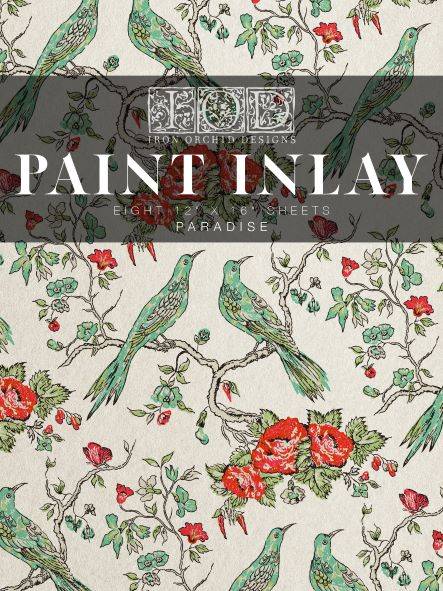
Paradise Paint Inlay by IOD
Crystal Clear Chandelier by DIY Paint
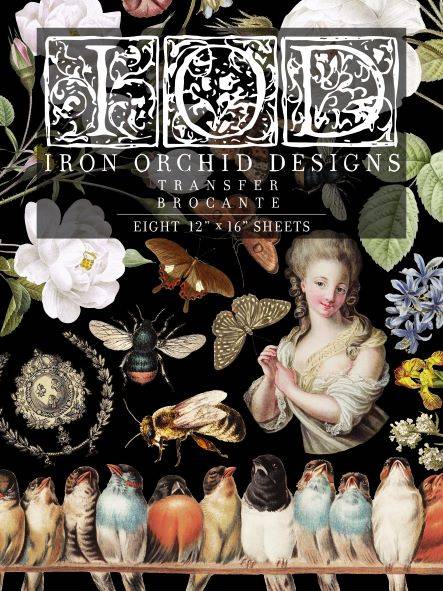
Brocante Transfer by IOD
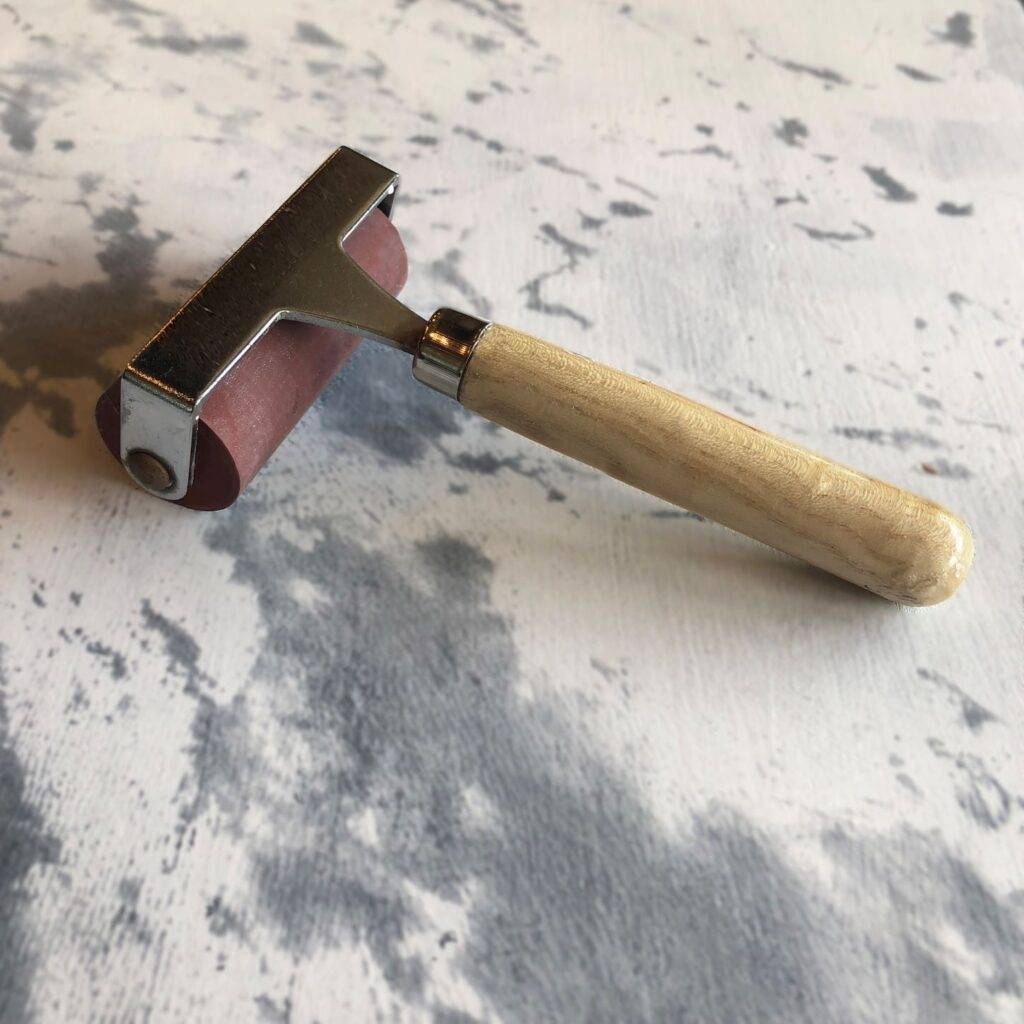
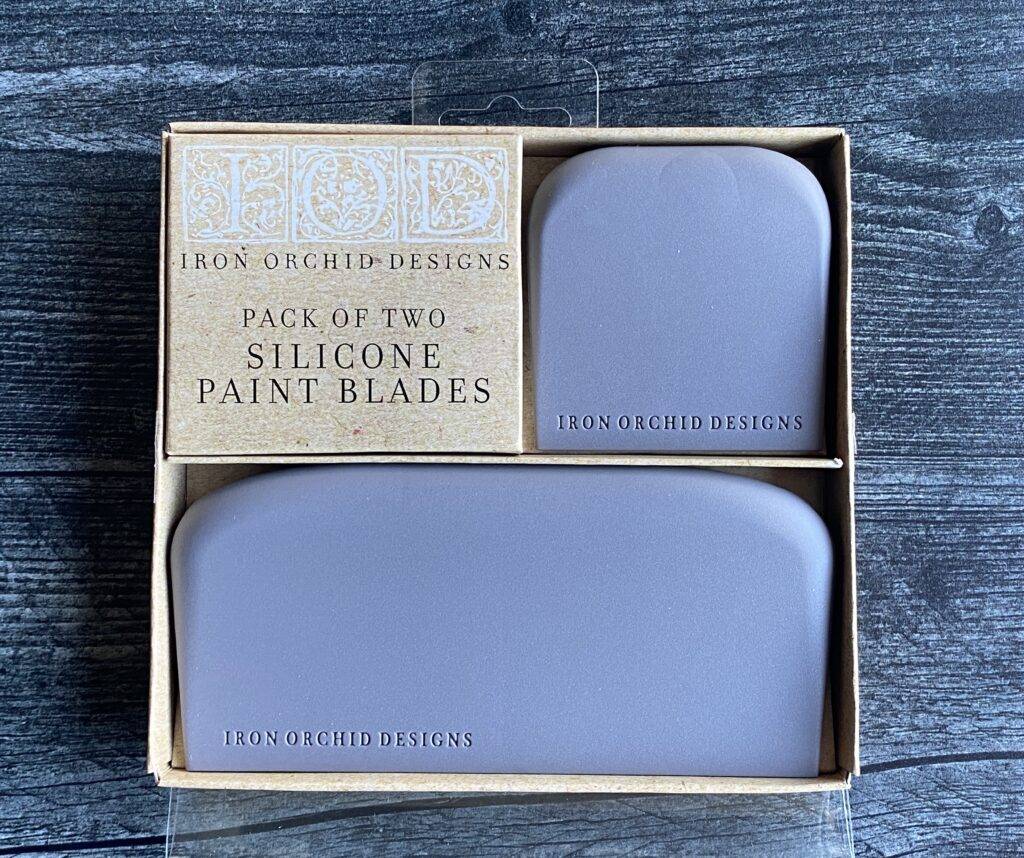
Optional: Silicone Blades or Brayer
Here’s an affiliate link to the mister bottle. It doesn’t cost you more but will send us a couple of pennies to support our small business. https://amzn.to/3BPYQPv
Instructions:
- Wet down vintage paper on the interior of the trunk and remove with a scraping tool. I used a razor blade and a light touch.
- Paint the interior of the case. I used DIY Paint’s Kissing Booth.
- Cut the desired inlay into the sizes you plan to use. I chose IOD’s Paradise Paint Inlay.
- Add an additional coat of paint and then chose the part of the design that that you want in that area and then place it down into the wet paint. Press it down to make sure that it adheres into the paint. Although not necessary, use a brayer or a silicone scraping tool to remove the wrinkles from the inlay.
- After applying the inlays, wet the backing down completely and then allow the project to dry. I use a wet washcloth and press it into the inlay allowing it to soak up the water that’s in the washcloth.
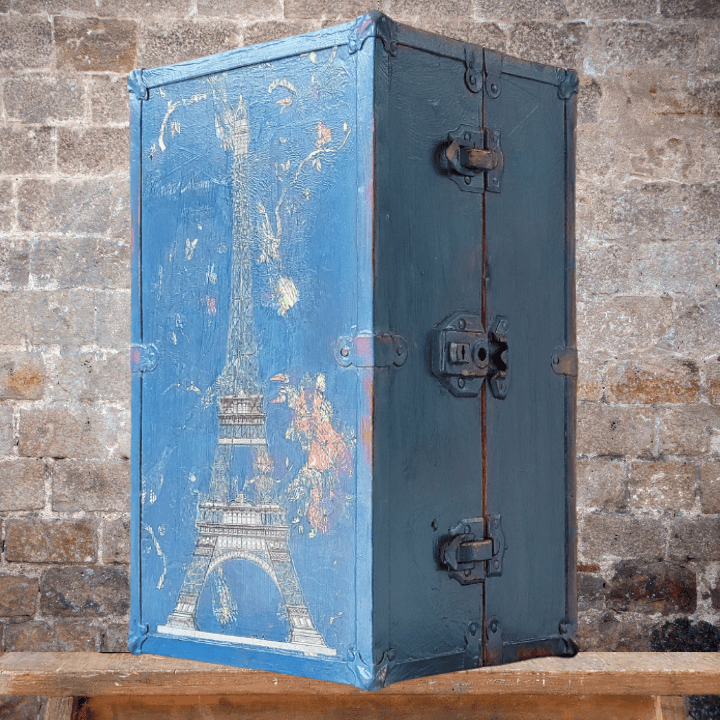
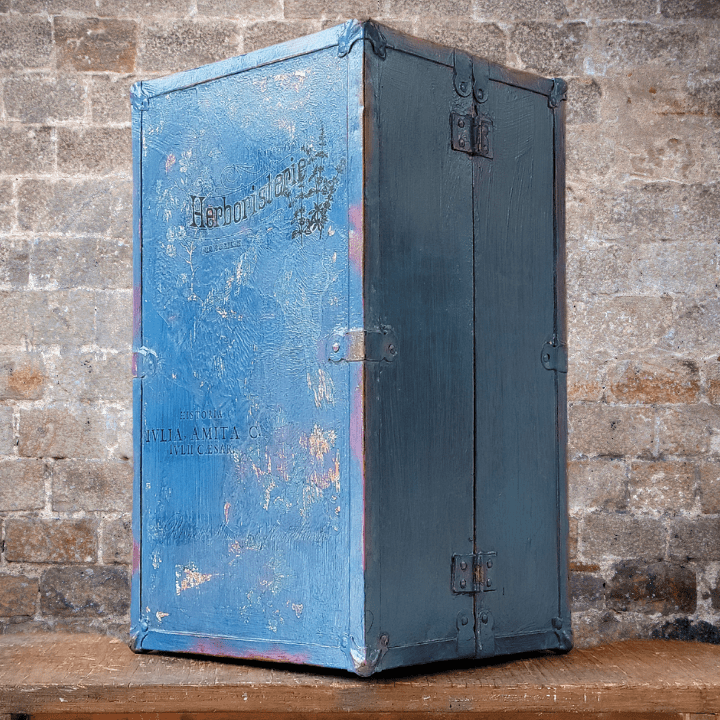
- I painted a rough coat of Kissing Booth on the outside. Then painted a more thorough coat of Hey Sailor over the pink.
- I used a wet washcloth to remove some of the paint off of the metal hardware and rubbed it lightly over the Hey Sailor to show some of the Kissing Booth peeking through.
- I reused the same paint inlay sheets that I used on the inside of the box on the outside of the box.
- The paint inlays can be reactivated easily with liquids, so it’s necessary to seal the piece before any next steps. So I mix some DIY Crystal Clear Chandelier Liquid Patina or your favorite water-based sealer, one part sealer to one part water in a spray bottle. Then spray the surface of your project to seal the inlay.
- Next, layer in some transfer scraps. I chose some from the Brocante transfer and added the Eifel tower and some words.
- Then seal the entire project.
Vintage Doll Trunk Makeover Supplies:
Hi Julie! I love that the box was made out of wood. You used all the great products and it turned out perfect. If I had to sell that in my booth I would probably price anywhere from$75-85. What did you price it at?
Thank you so much!! I was amazed at the gorgeous wood beneath the grime. I landed on $49.95. I thought higher but then the broken lock made me go below $50. I’m taking it to my booth this week. I’ll let you know if/when it sells.